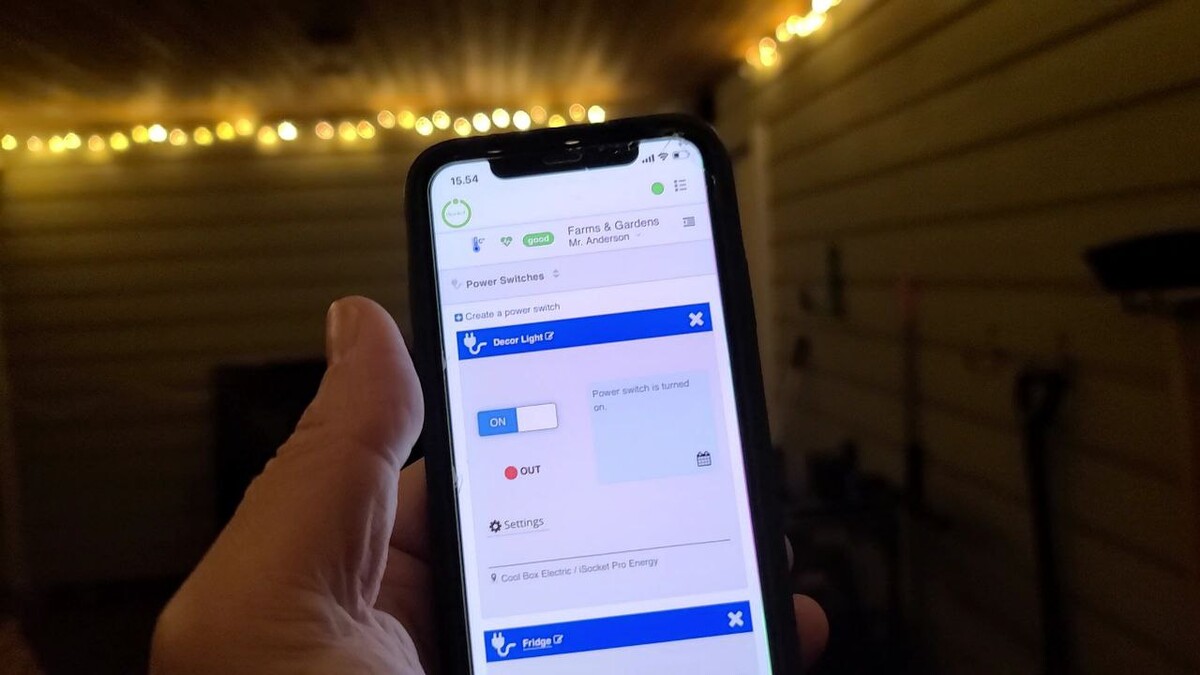
Let's install this LED light under the roof:
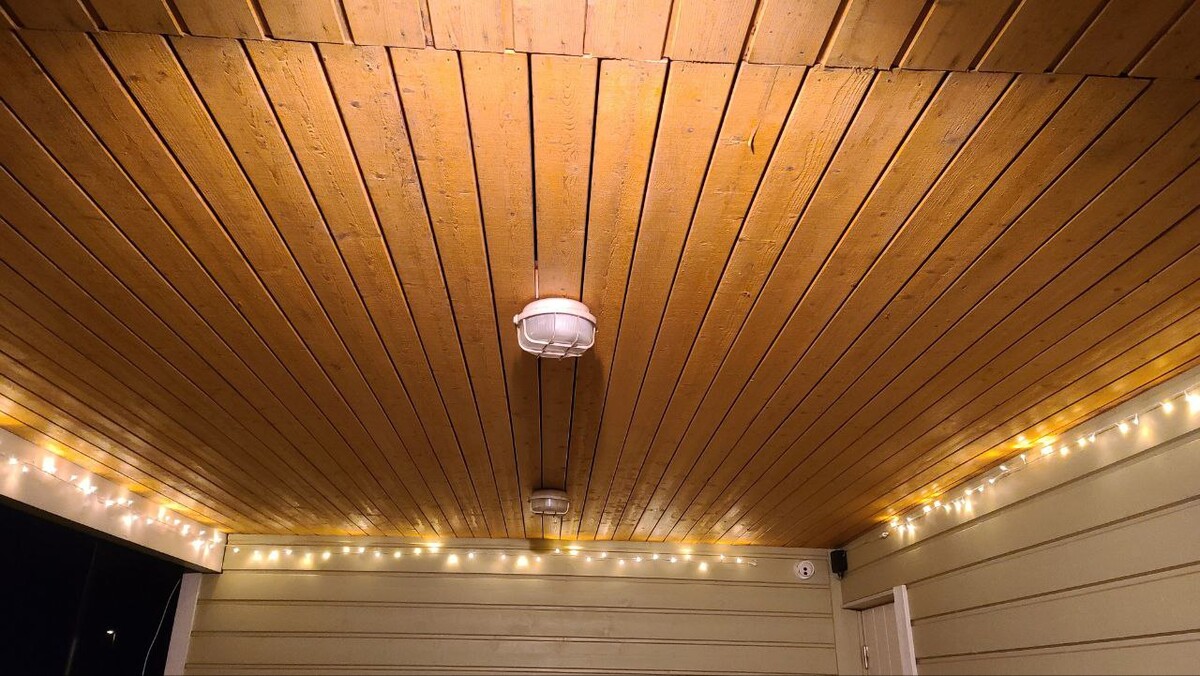
Similar to what you see here on the terrace:
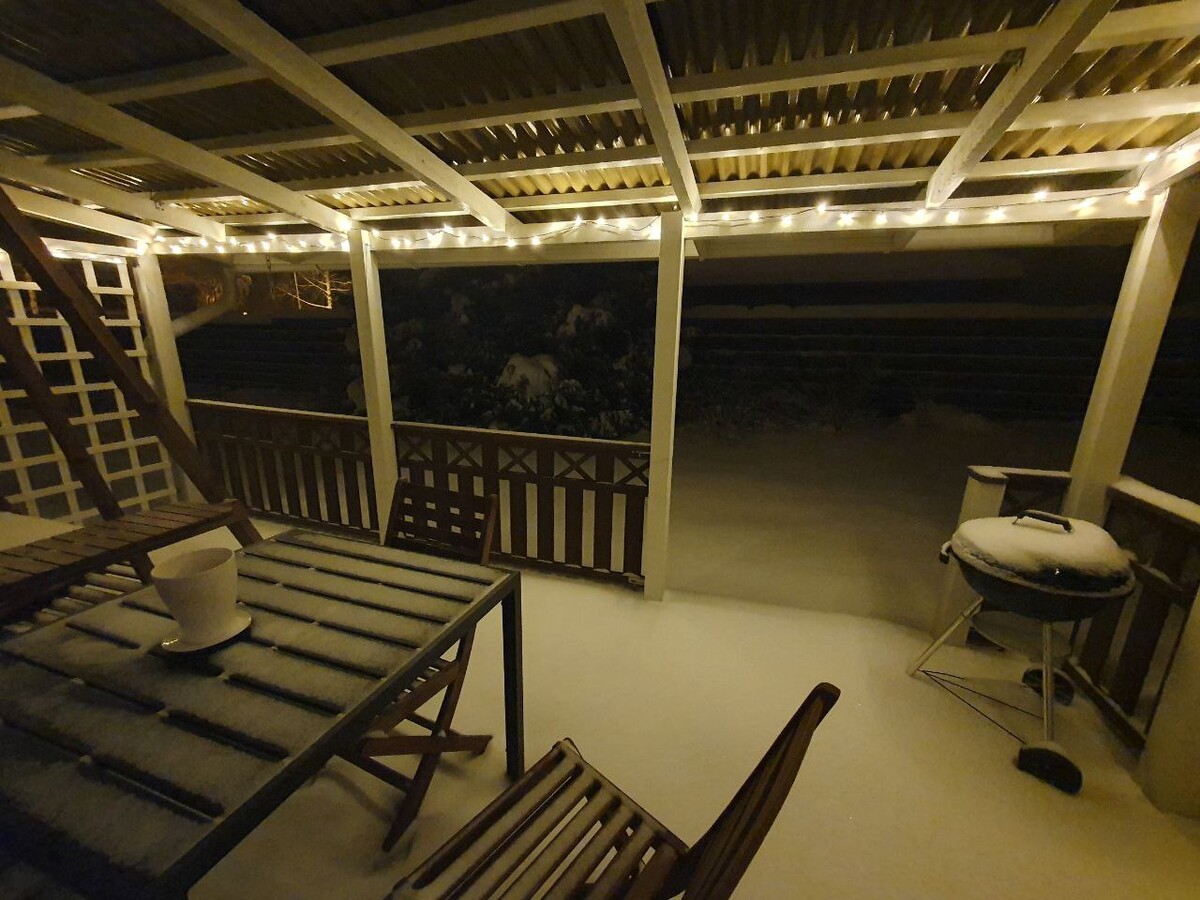
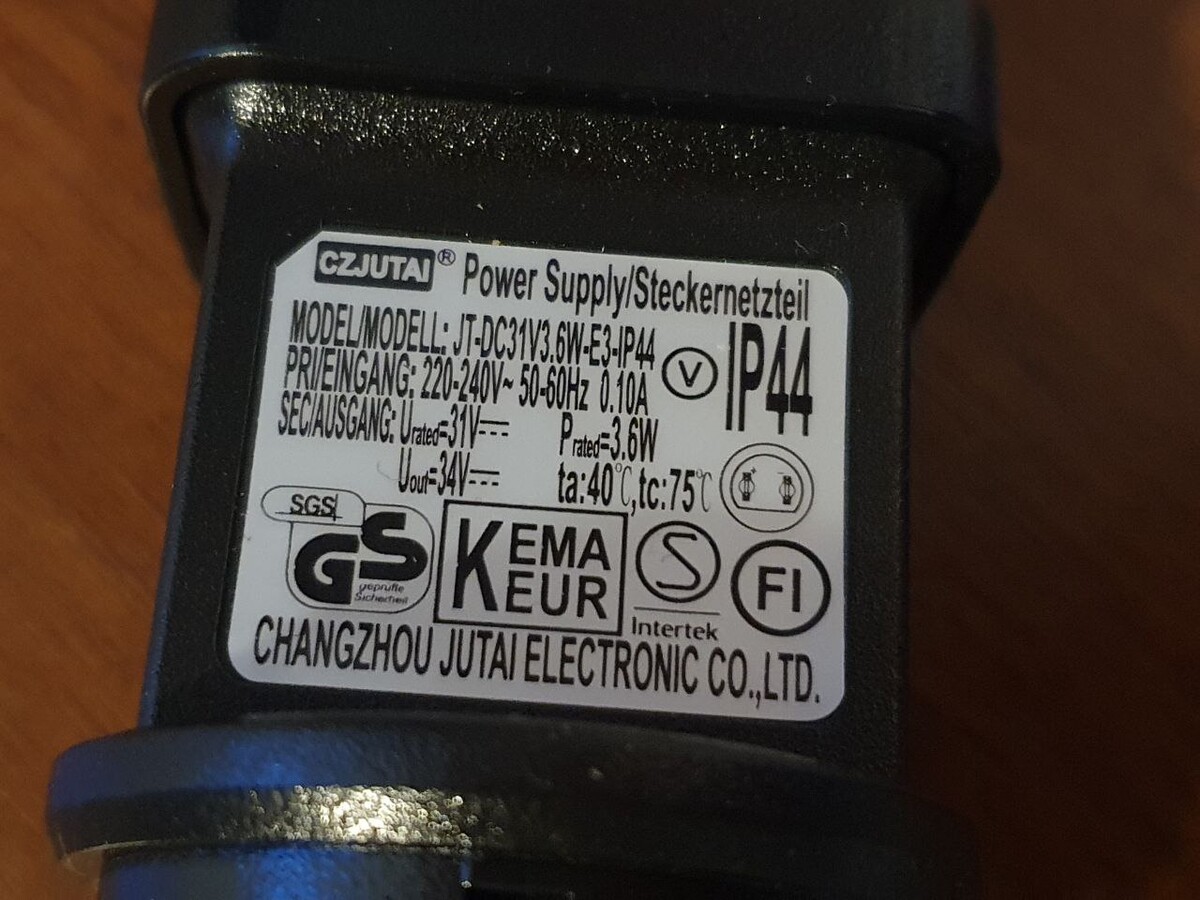
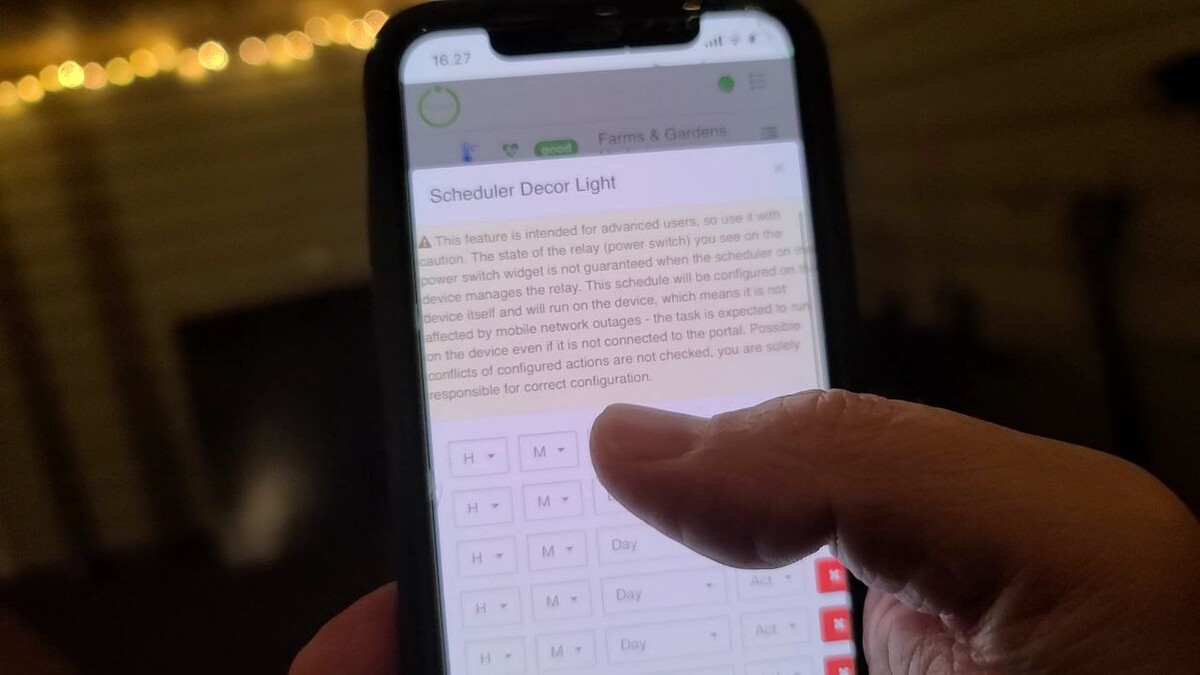
Why just similar? Well, because these LEDs aren't as bright after a year of use. For that reason, I don't want to make a permanent installation, especially when it comes to the connection. I also want the flexibility to switch it on and off remotely at any time and set a schedule for operation. That’s where the iSocket comes in — it will manage the control. Here is the iSocket, with the power supply of the light chain connected to it.
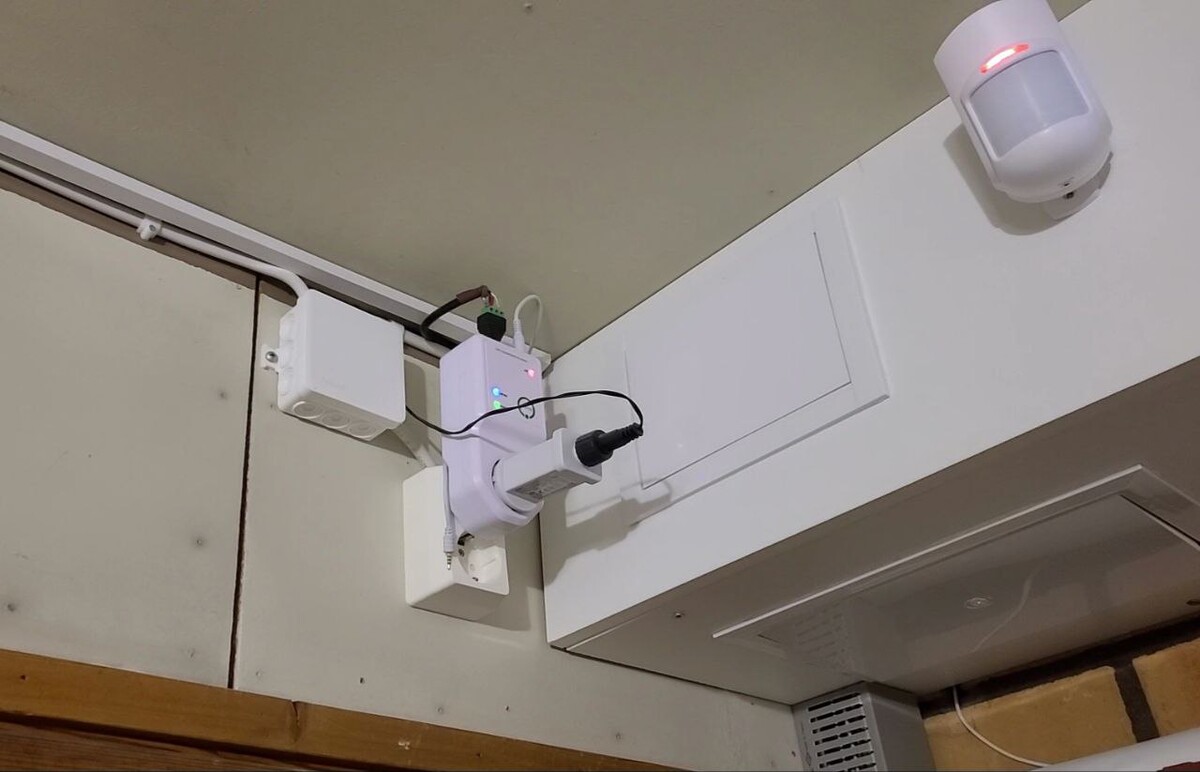
I’ll return to the on/off and scheduling details later. I plan to make it a bit different in the garage, not like what you see here, and I'll explain that soon.
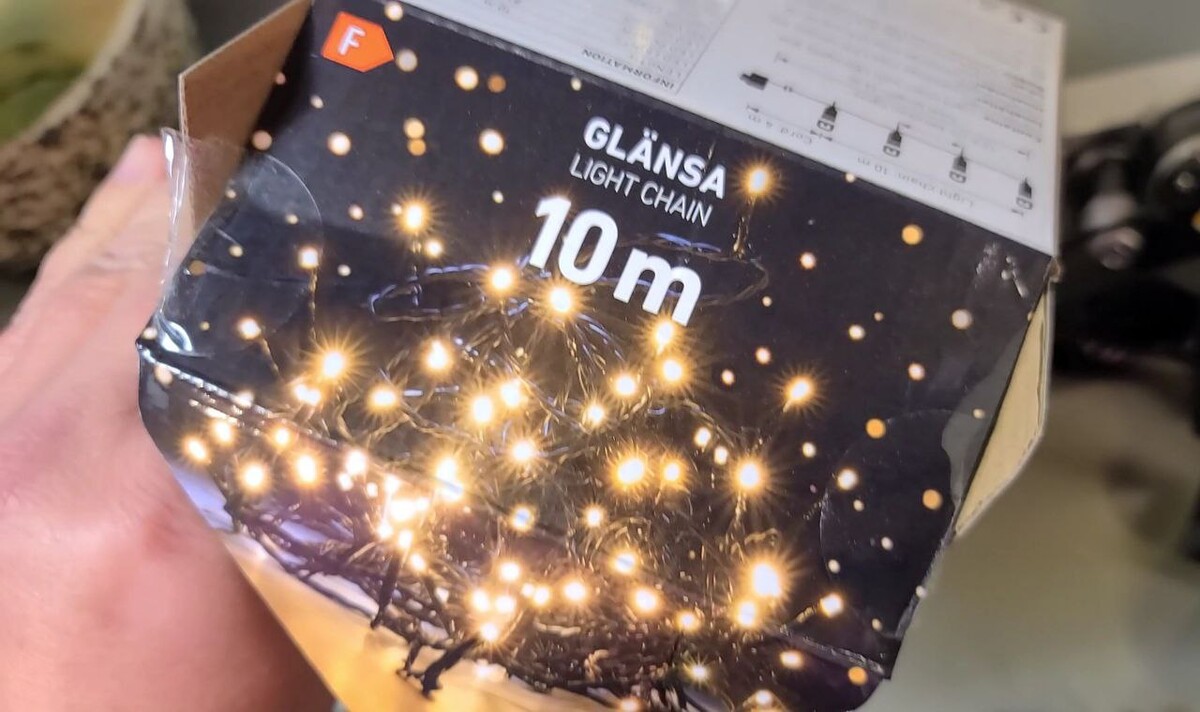
So, here is the 10-meter light chain, quite cheap—about 5 euros, if I remember correctly. It includes a power supply and the light chain itself. It works well for about one or two years, but then it starts losing brightness. I’d prefer to buy a better light chain, but I can’t find one that fits. High-quality LED strips won’t be a good replacement for this application, and it’s unlikely that you’ll find one that looks like this and has good LEDs.
Usually, people just plug it in outside. You can replace the light chain or the power supply separately, but I want to do something different. As mentioned, I plan to plug it into an iSocket so I can switch it on and off remotely via the mobile network and set a schedule in the iSocket. The iSocket will be installed inside the garage, and the light chain will be outside.
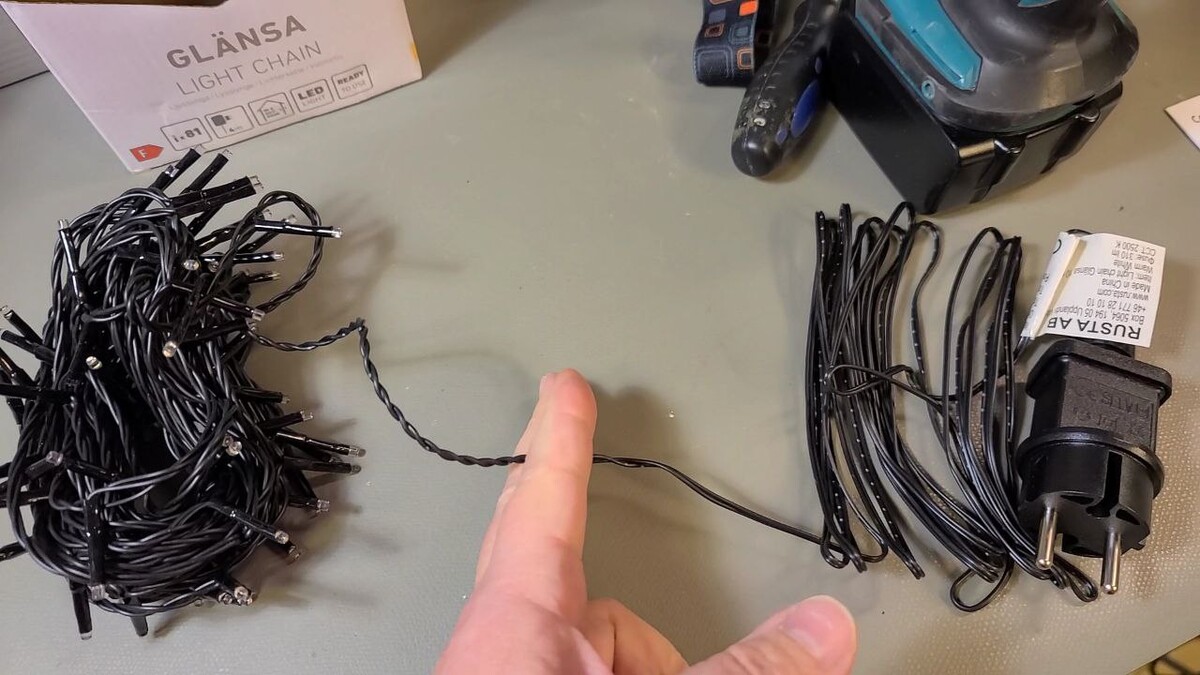
To make this work, I’ll need to cut the chain, and the part with the power supply that connects to the iSocket will be indoors, while the LED light chain will be outside. If I get a new light chain, I’ll cut it too and connect it outside. This means I’ll need to run a line between indoors and outdoors. No fancy technologies here — I’ll just show you how I do it.
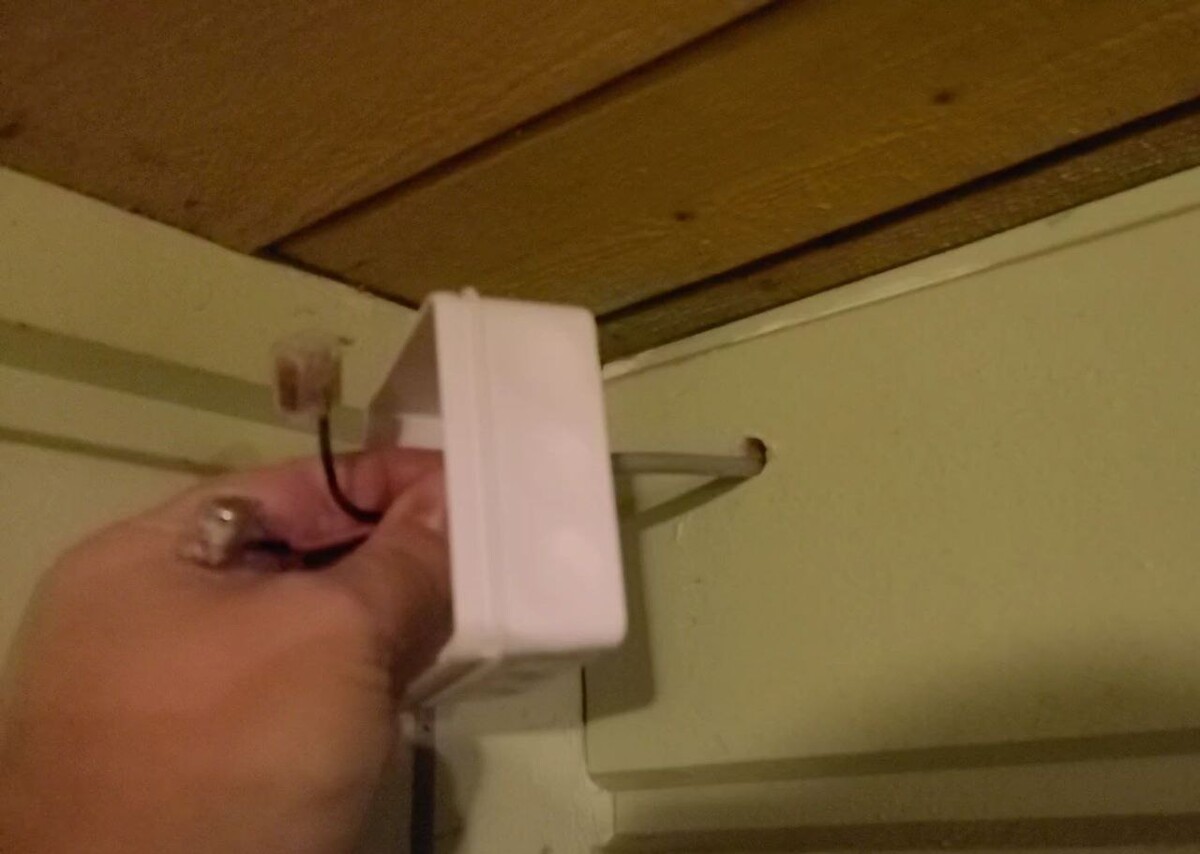
We'll start with making the hole for this purpose, which I've already done. I’m using a distribution box, or whatever you prefer to call it. I chose this ABB model because it’s convenient and relatively inexpensive. Here is the spot where the cable will pass through the hole. Since the cable isn’t color-coded, I color-coded it myself—red for positive and the second one for negative. I’m using these WAGO terminals, so we can place them here, which allows for easy cable replacement if needed.
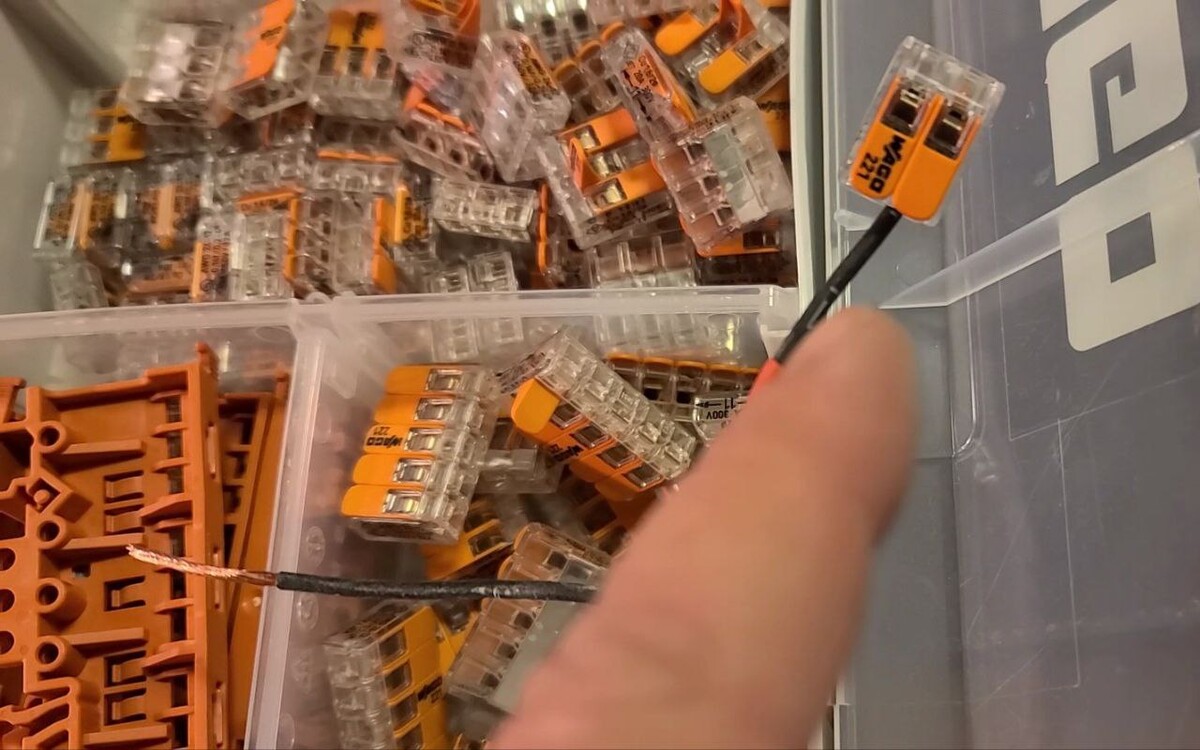
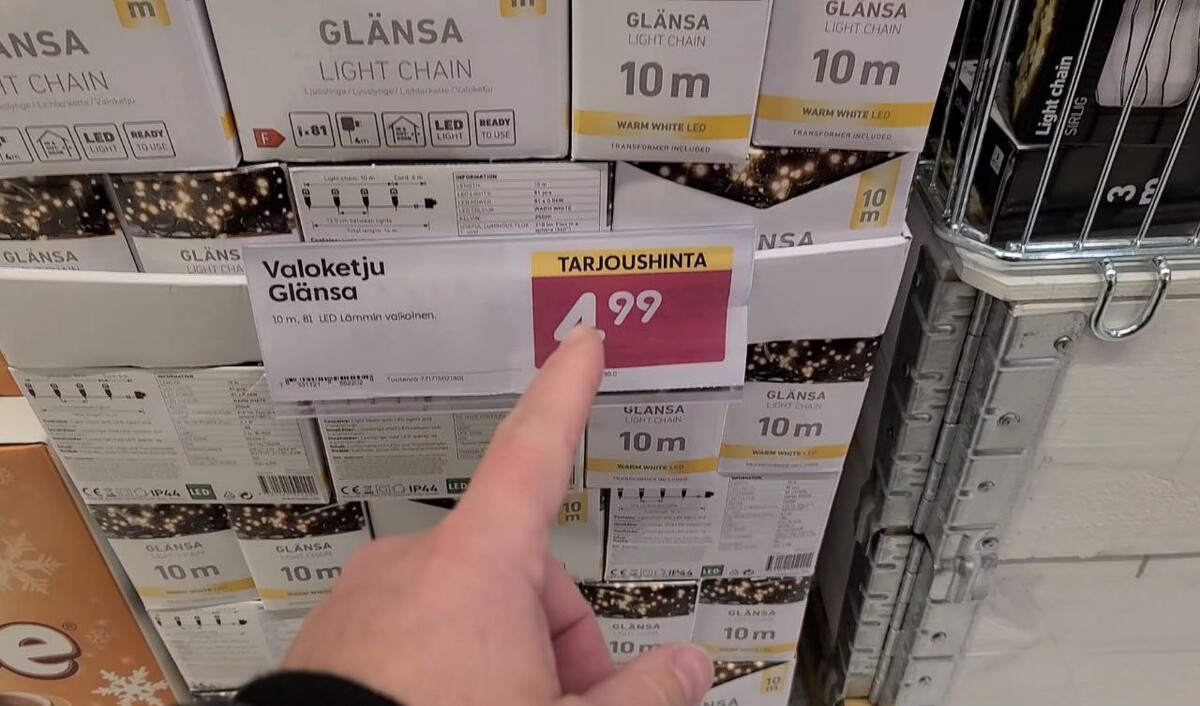
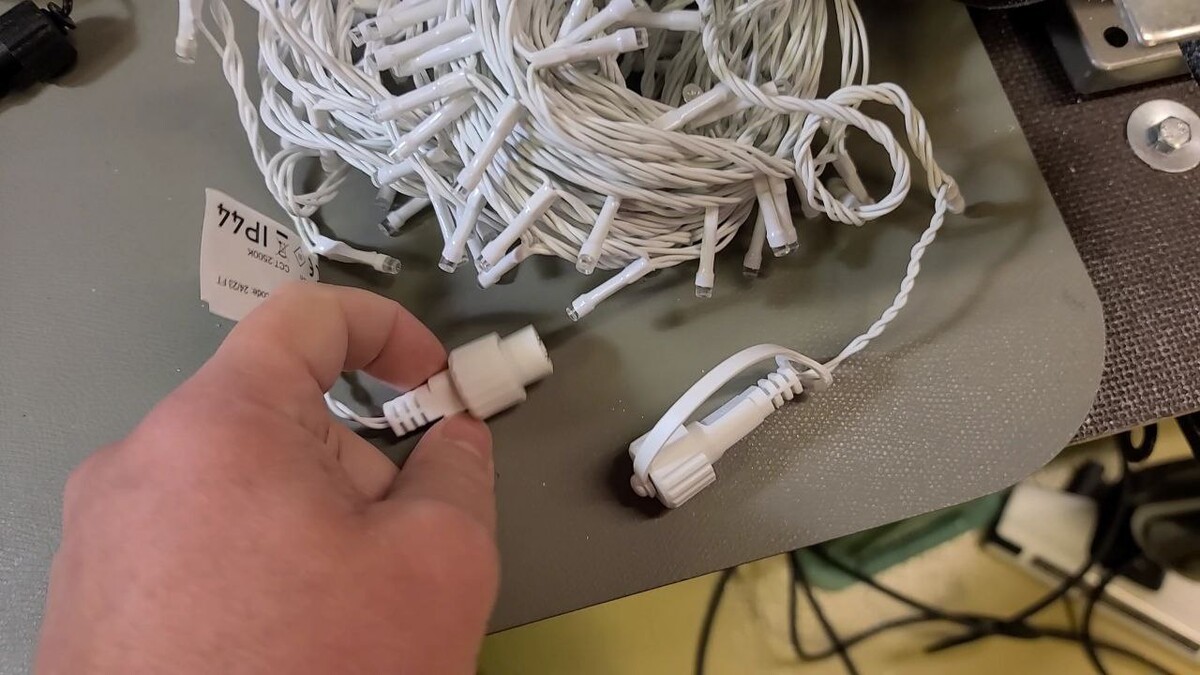
This one is 15m, but I need 16m. I don’t want a 1-meter gap, and it’s unlikely to be perfectly straight due to curves. I might need a 2m extension, but unfortunately, there isn’t a 2m extension available. There are options with a lot of LEDs, but I don’t want that many LEDs. By the way, for this LED chain, the LEDs are spaced every 10 cm, giving us a total of 150 pieces. The main concern here is the energy consumption, which we’ll be able to calculate over the year using the iSocket.
A 5 m version is also available and extendable, with 10 cm between lights. You can choose it in white or black, but it has a 20,000-hour lifespan. Personally, I’d go for the version with a 50,000-hour lifespan, but it isn’t extendable. So, that's the plan — pretty straightforward. I’ll install it and see how it goes.
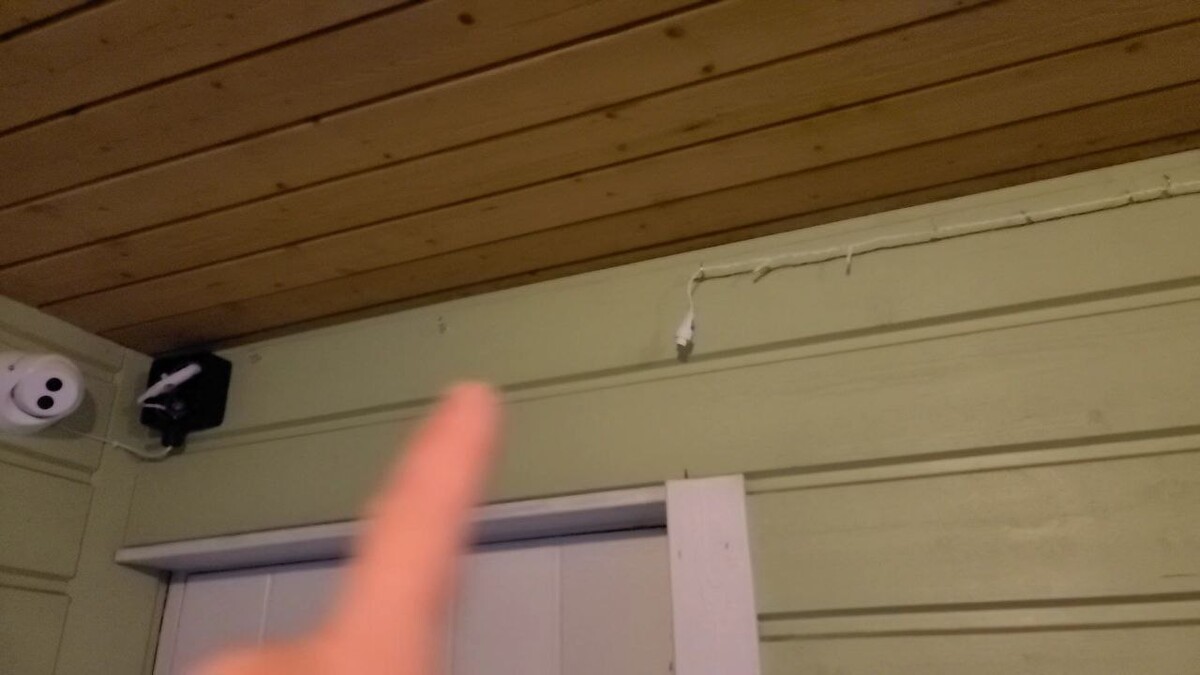
I managed to get it fairly straight, with only a small gap above the door, which is fine.
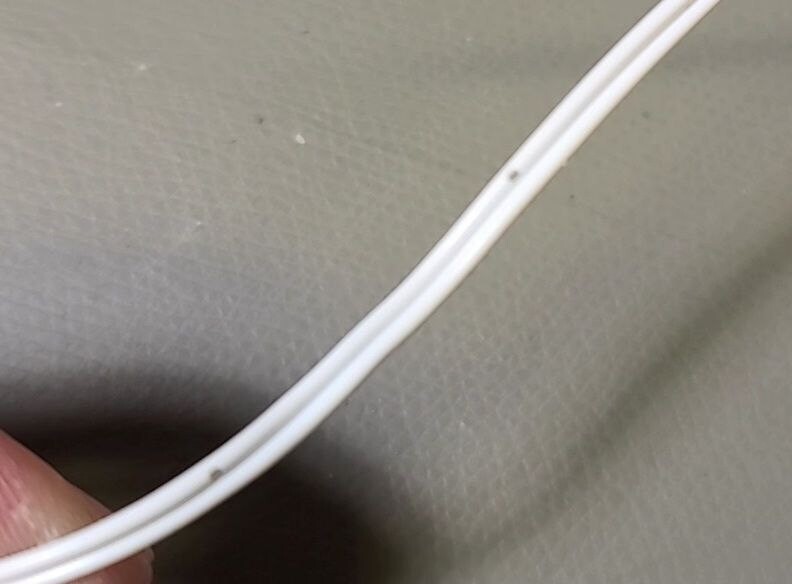
Since we cut the light chain, it’s important to identify the positive and negative lines. The positive mark is on the left, so the cable with the dot is the positive one. This seems to be standard for Rusta light chains.
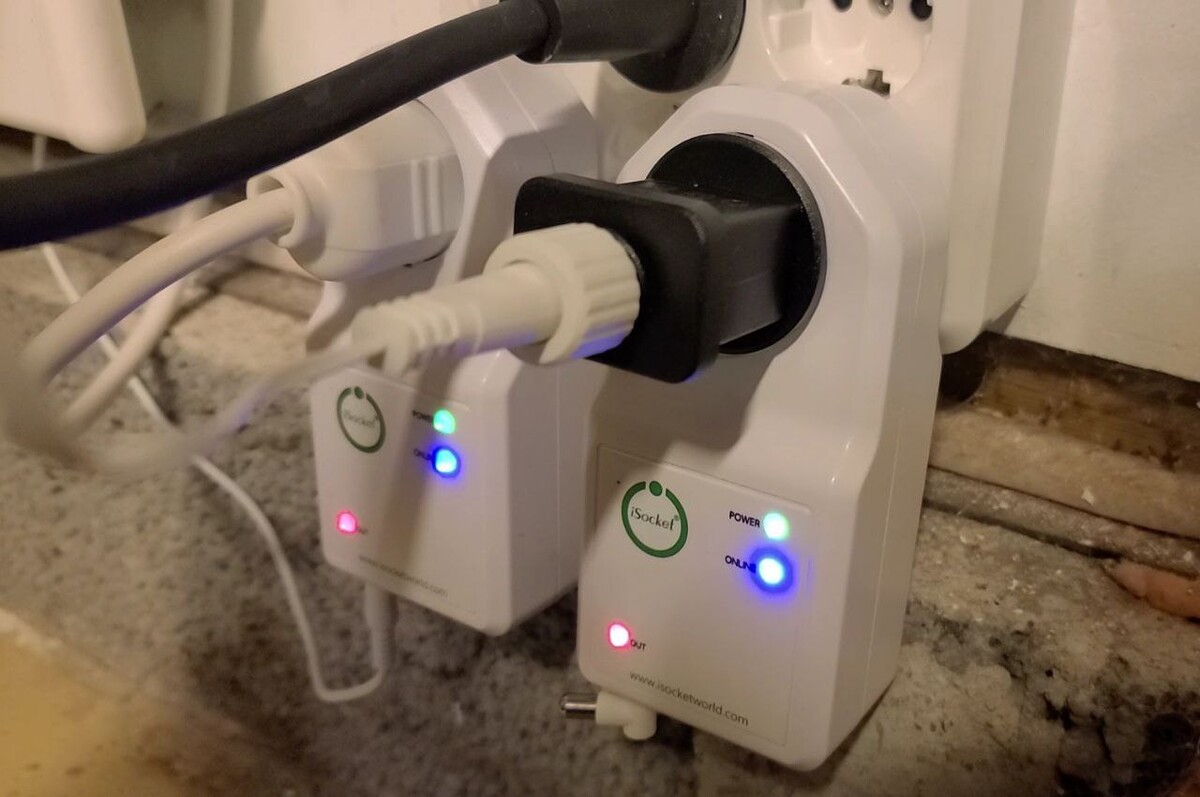
On the iSocket side, I decided to skip the junction box. Now, it’s time to test it!
It's a Kind of Magic…
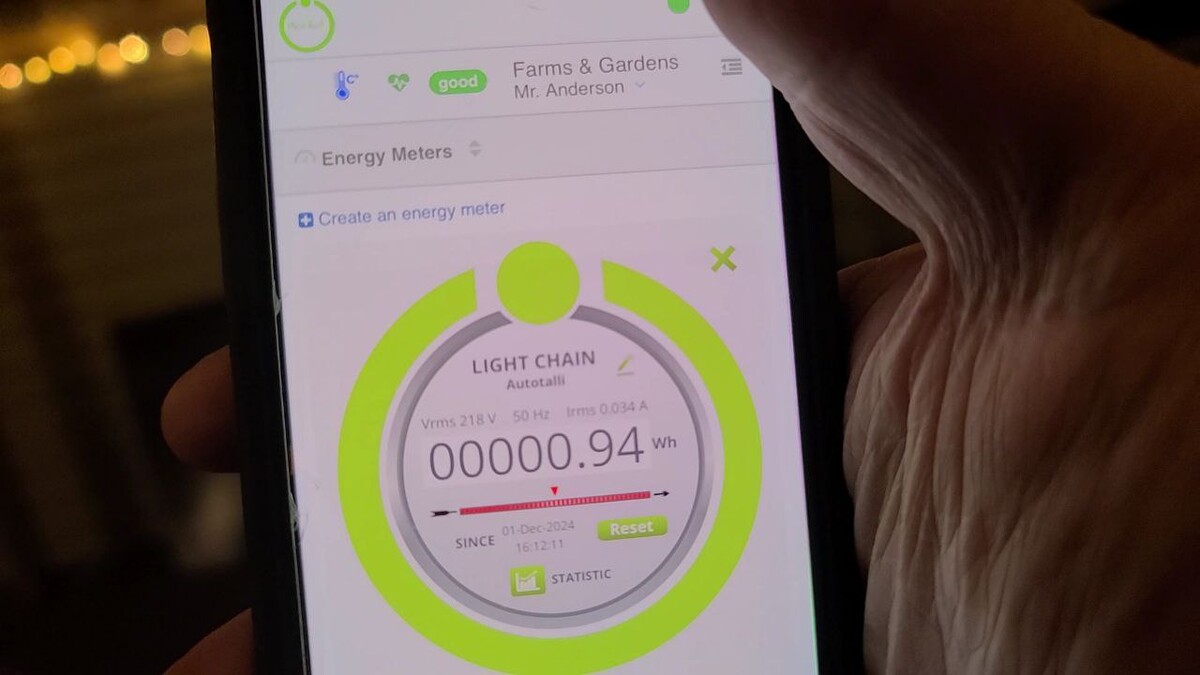
Now, let’s check it out. I have the iSocket app here on another phone. It’s a kind of magic… In the monitoring section, I can see that the power consumption is about 4 watts. Looking at the current, it’s 34 mA. Not bad at all.
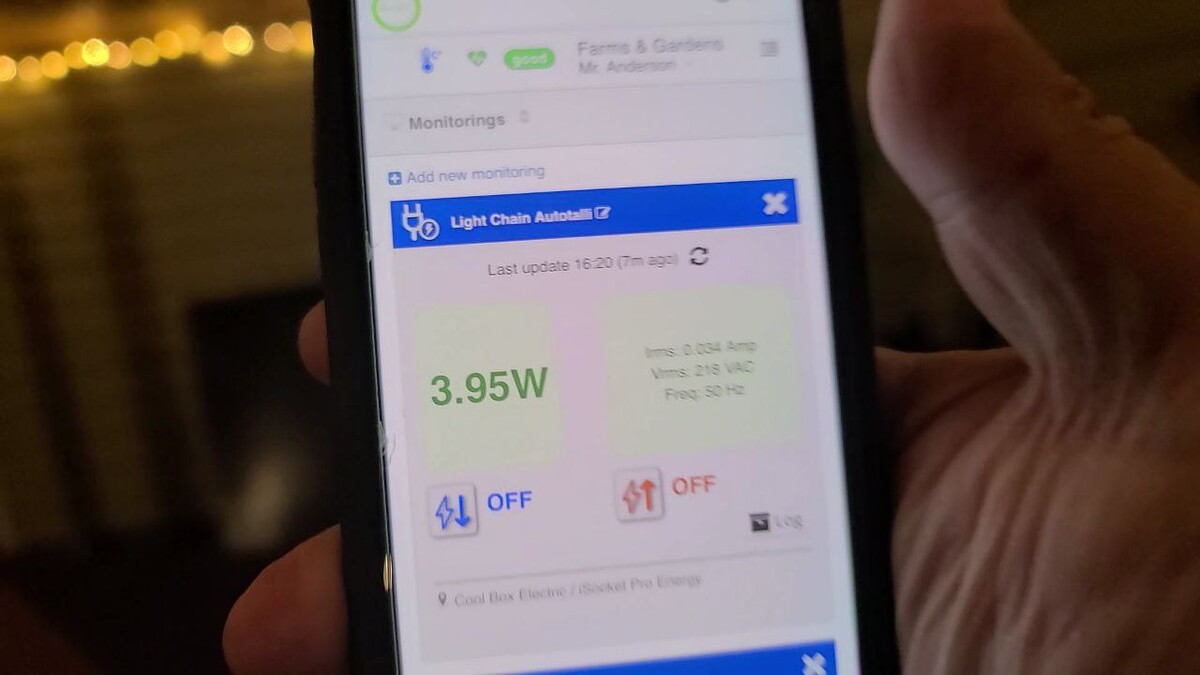
I’ll be checking the seasonal power consumption using the iSocket energy meter. This device will track and calculate power usage over time. For instance, I’m planning to publish a video about this and other equipment power consumption checks around my house, so make sure to subscribe if you haven’t already!
Good night, guys!

